So after playing around with fiberglass and making up the brake ducts and oil cooler duct i thought i would give it a try again and be a little more advanced,
First up i traced the shape of the current metal rear diffuser onto some ply i had lying around so i could match
it to the rear bar.
I added in some of the holes and attached the plywood and added eaxtra sections on the end to make it large enough as the piece i had was too small.
 Here you can see the bit added on
 And how they are fixed
 Traced out and working out the center section
 Cut the center section to to angle i wanted and added hardwood bracing to the ply which is the mould

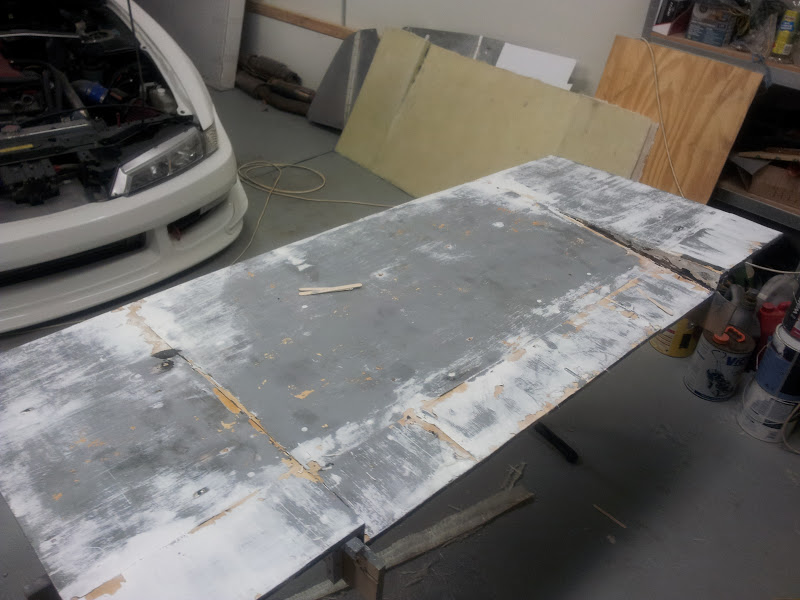
 Filling all the little holes in the mould and preparing it
 sanded with fine grade paper
 coated in a layer of polyutherene
 Mixing up gelcoat

 gelcoat applied
 first layer of matting over the gelcoat

 Picked up this neat little 150mm rota sander from SCA
 Spray putty and primer
 All finished - i thought.


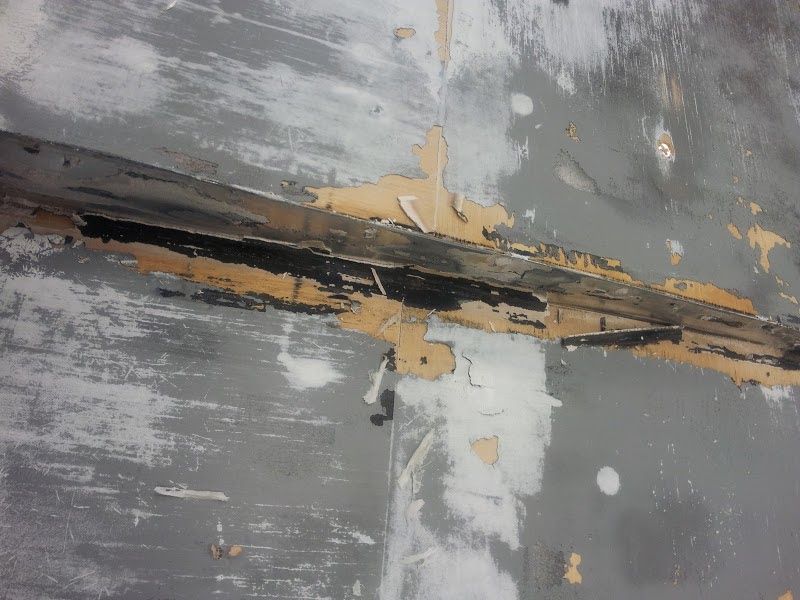
You can see all the sections that lifted out of the mould


 Fins will keep the tyre section away and also allow possiability to trim bar up higher if needed later but i cant bring myself to do that just yet.


I hadn't do the right prep and also mixed not enough catalist so it stuck to the mould
You can see all the sections that lifted out of the mould


Here is the actual piece


I wanted to check how it went on the car anyway before fixing the mould and re-doing the piece, it didn't have strength either so was a bit flimsy.

I made it so you can trim to your desired size or easily drop etc for different bars with spacers if needed


No comments:
Post a Comment